

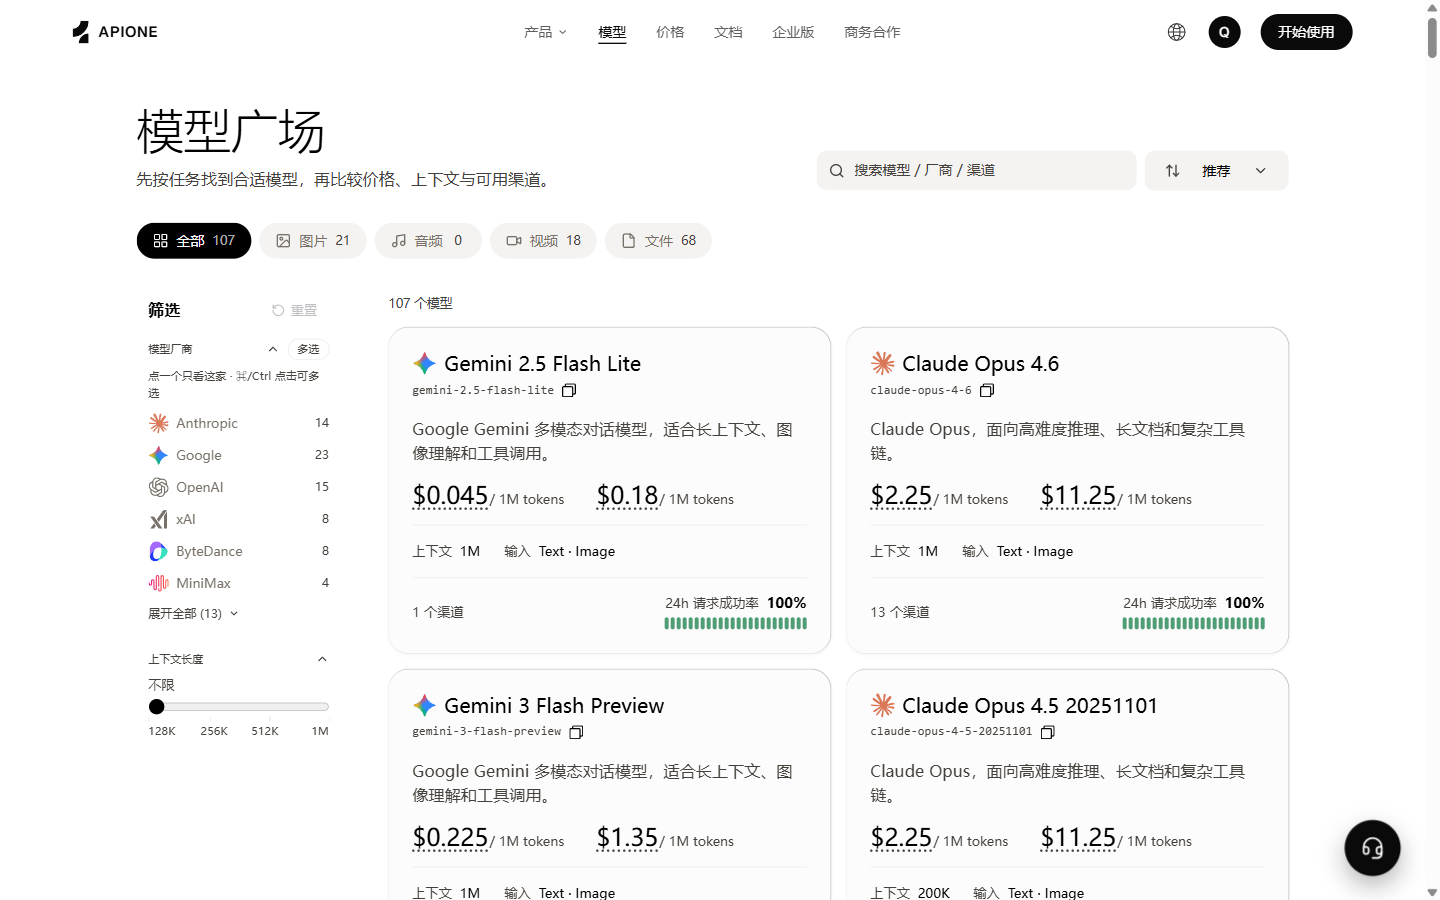
Compare available models, capabilities, prices, and channels in APIONE.
Start here
Build an application
Create a key, list models, and make your first request with cURL.
Configure a client
Choose your tool and enter its API address, key, and model settings.
Migrate an application
Update the Base URL, key, and model, then verify your application.
Troubleshoot a request
Check error codes and symptoms, and collect the request ID.
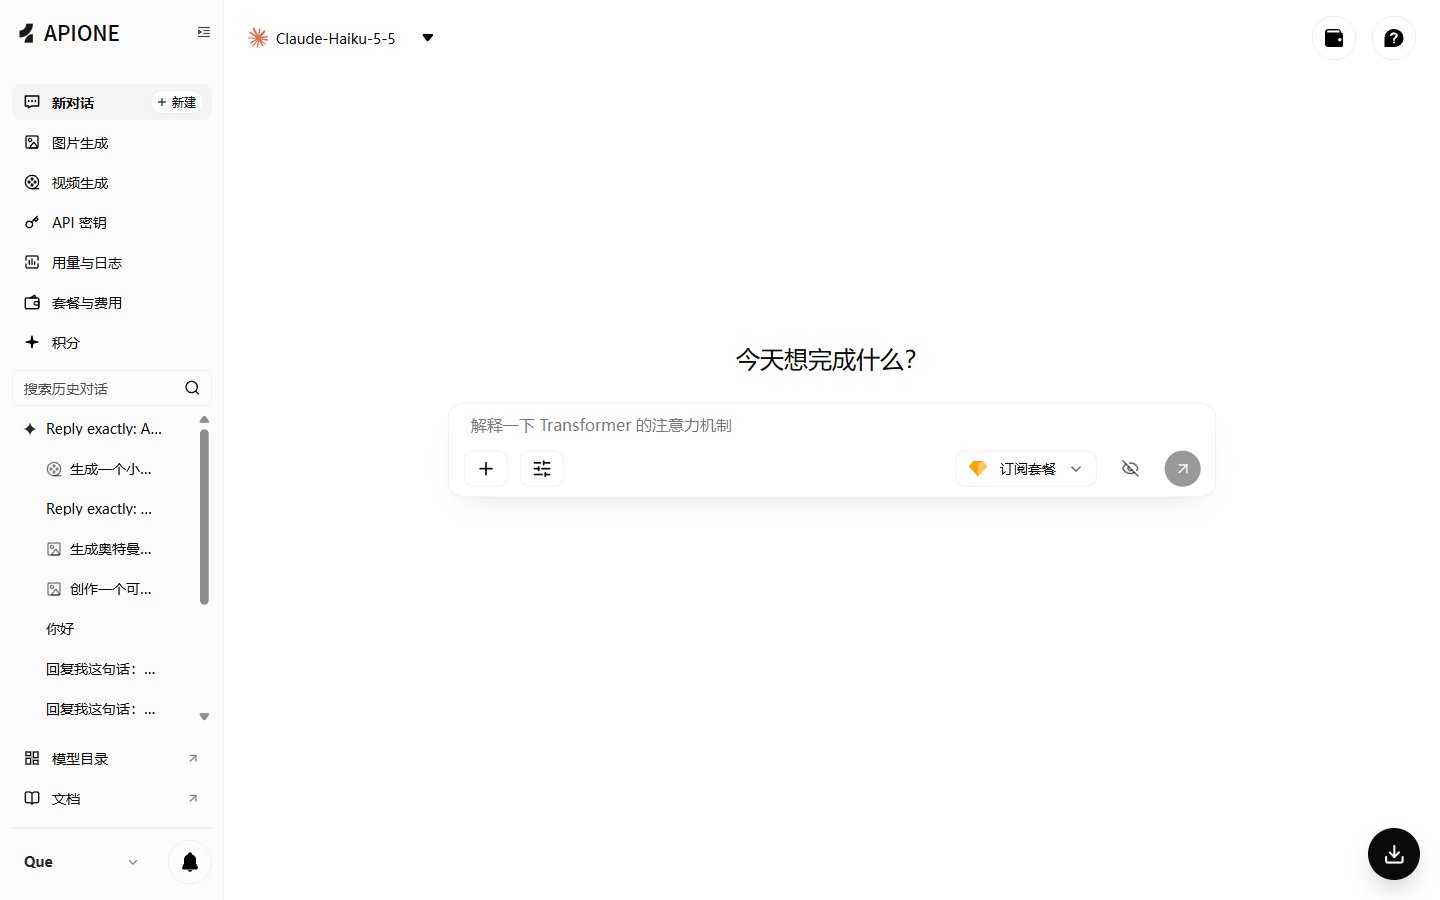
After signing in, you can open chat, model selection, API Keys, usage, and media generation pages.
New user first path
Web chat and API usage share APIONE balance. Plan allowances, credited balance, and reward points each have their own rules; see Usage and costs and Points and referral rewards.
You can complete the first three steps if you only want to try web chat. When you are ready to code or use a client, go to Quickstart or Client guides.
Three settings you need
Find a guide by task
- Connect an application: Quickstart, Python and Node.js, API keys.
- Call a model: Choose models, Chat Completions, Responses, Anthropic Messages, Gemini.
- Handle output: Streaming, JSON and tool calls.
- Review charges: Usage, group pricing, and limits, Points and referral rewards.
- Get help: FAQ, Contact support.